Examples
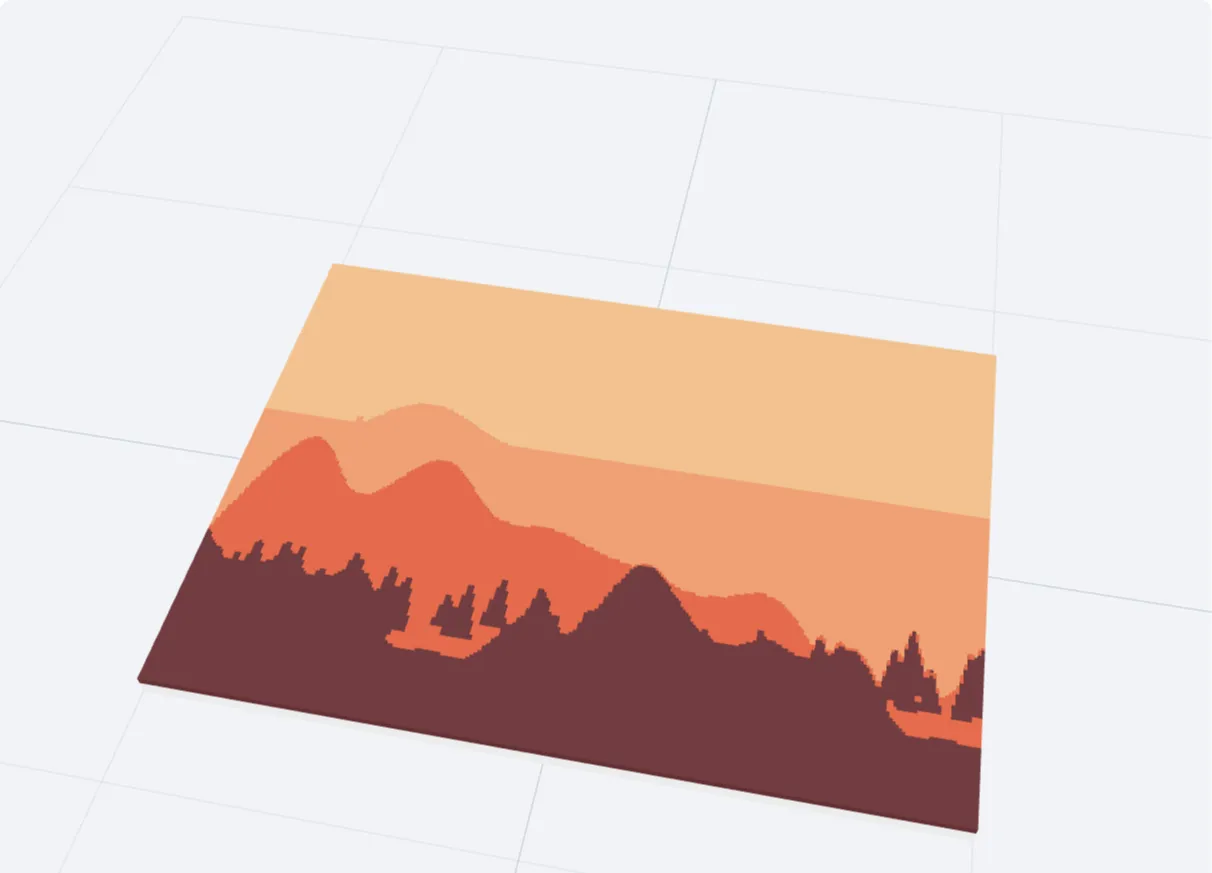 Four colours on a white base100 mm wide, 1 mm colour layer on a 2 mm base
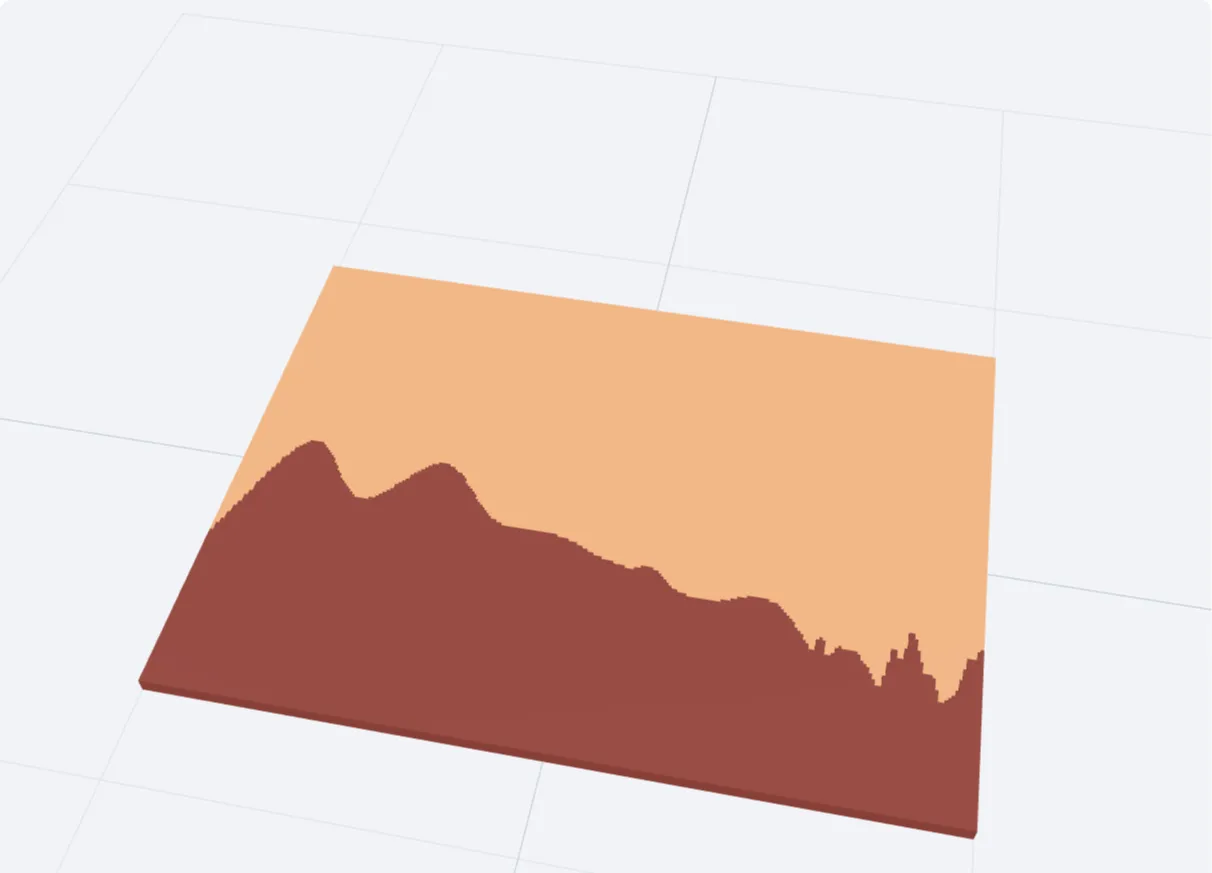 Two colours, no baseAn inlay: both bodies go through the full 2 mm
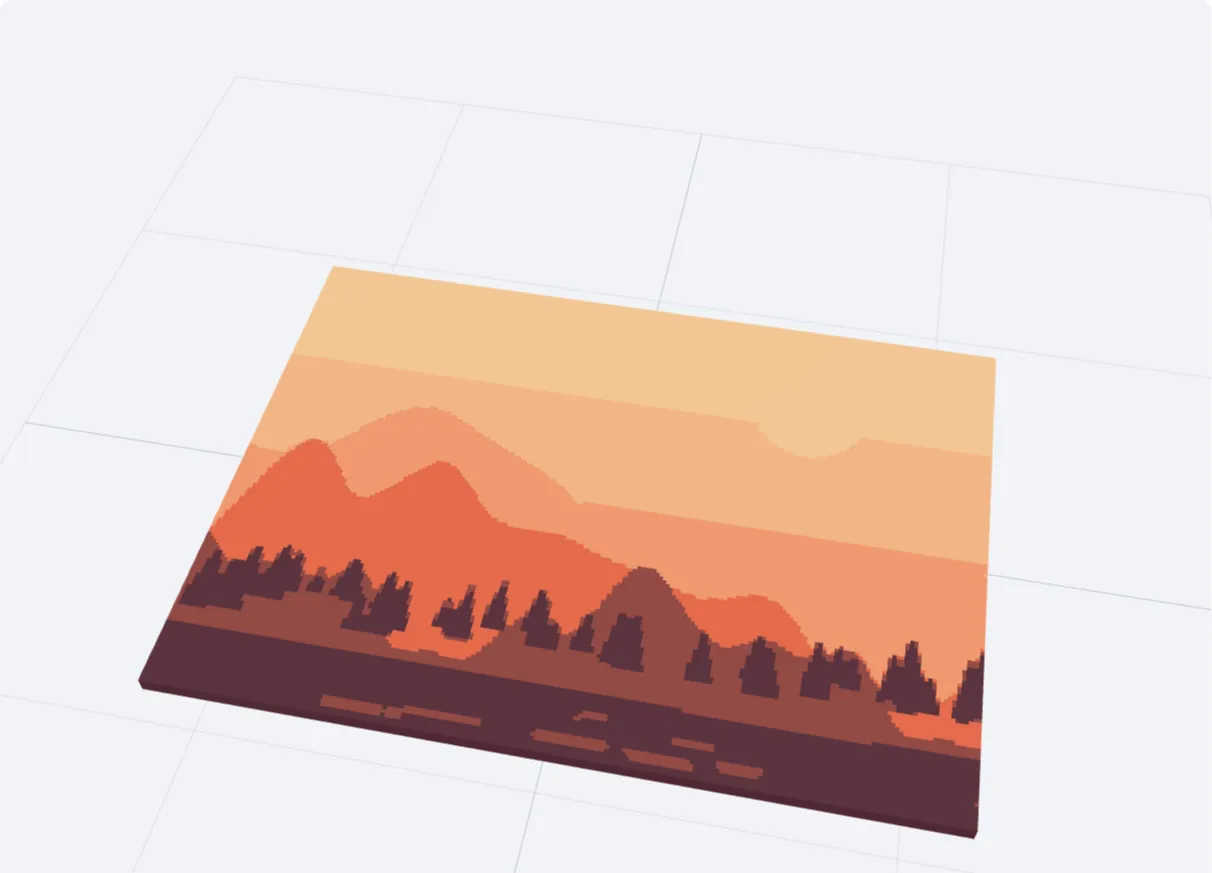 Six colours, draft detail0.6 mm pixels, base printed in the darkest colour
These pictures are this tool's own preview, not photographs. Click one to open the tool with those settings. Printed something with it? Send a photo to hello@3dfiles.app and it can be shown here.
How to make a multi-colour 3MF from a picture
- Drop a picture above. Logos, icons, flags, pixel art and flat drawings give the cleanest result.
- Set the number of colours to the number of filaments you want to use. The picture is reduced to that many colours; change any of them with the colour boxes.
- Tick Remove the background if the area around the motif should not be printed.
- Choose the width, the height of the colour layer and the base thickness.
- Download the 3MF, open it in your slicer and give each part its filament.
What the file contains
Every colour is a separate solid body. The bodies are cut from the same pixel grid, so they fit together exactly, with no gaps and no overlaps, and stand on a common base plate if you want one. In the 3MF they are the parts of a single object, so the model arrives in one piece and each part keeps its place.
In the slicer
- Bambu Studio and OrcaSlicer: open the 3MF, select a part in the object list and press a number key (1 to 4) or pick a filament. The colours stored in the file are a guide to which part is which.
- PrusaSlicer: open the 3MF and answer Yes when it asks whether to load the file as a single object with multiple parts. Then expand the object and set the extruder for each part.
- Other slicers: use STL per colour, load all the files together and accept the question about loading them as one object with several parts.
Choosing the settings
| Setting | Typical value | Why |
|---|---|---|
| Colour layer | 0.6 to 1 mm | Three to five layers hide the base colour underneath without long colour changes. |
| Base thickness | 1.6 to 3 mm | Stiff enough for a sign or coaster. Use 0 for an inlay made of the coloured bodies only. |
| Detail | 0.4 mm | The same as a standard nozzle; finer detail than the nozzle width cannot be printed anyway. |
This or a filament painting?
Here each colour is a region printed in its own filament, which needs a printer that can change filament within a layer. A filament painting gets its shades from layer thickness and only needs manual filament changes between layers, so it works on any printer and suits photos better.
Common questions
Which pictures work best?
Pictures with a few flat colours and clear edges: logos, icons, emblems, cartoons, pixel art. Photos with gradients are reduced to flat areas and lose detail; a filament painting is the better tool for those.
Can I use an SVG?
Yes. The SVG is drawn at the resolution set by Width and Detail and then separated into colours like any other picture.
Do I need an AMS?
For the colours to be printed side by side in the same layers you need a multi-material system: Bambu AMS, Prusa MMU, a tool changer or an IDEX printer for two colours.
Why are there fewer colours than I asked for?
Colours that are almost identical are merged. A black-and-white logo stays two colours even if you ask for four.
Is it free?
Models with up to 4 colours are free, 2 downloads a day. Pro adds 5 to 8 colours and unlimited downloads.
Is my file uploaded?
No. The file is processed in your browser and never leaves your device.